Tag Archives: craft

How to make a iphone neck holder

ipod neck holder

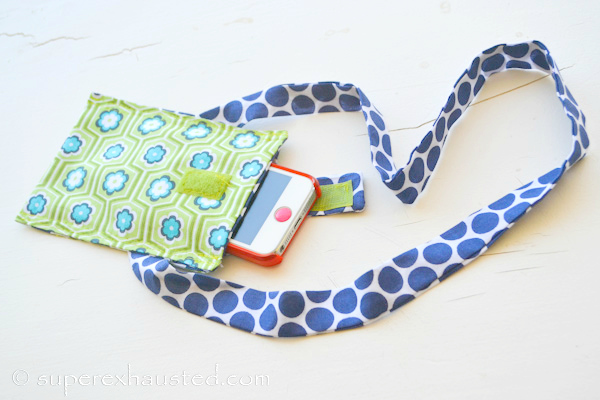
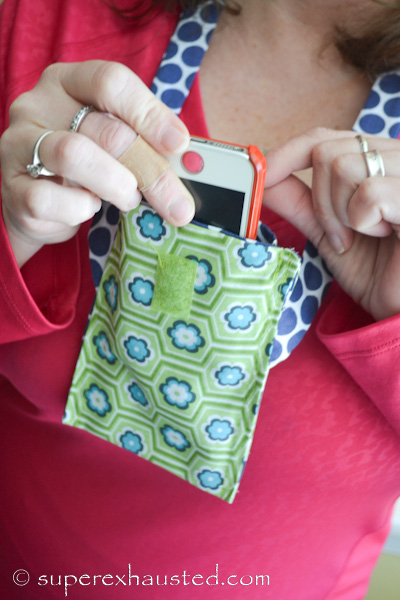
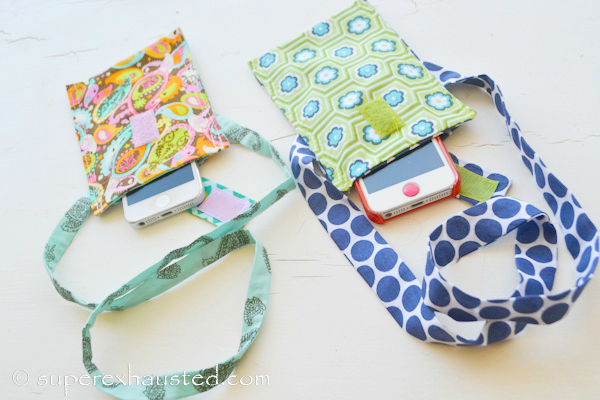
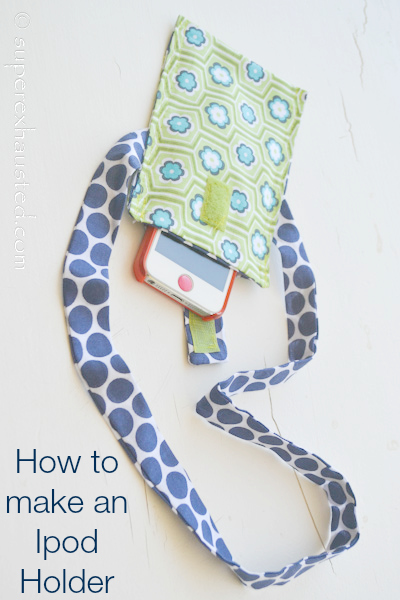
How to make a iphone neck holder : So I like to work hand free while listen or talking on my cell phone.  So a few years back I made a phone case neck holder that allows me to talk or listen to my cell phone hands free.   Decided to share the pattern and how to make one with you.

How to make a Ipod neck holder

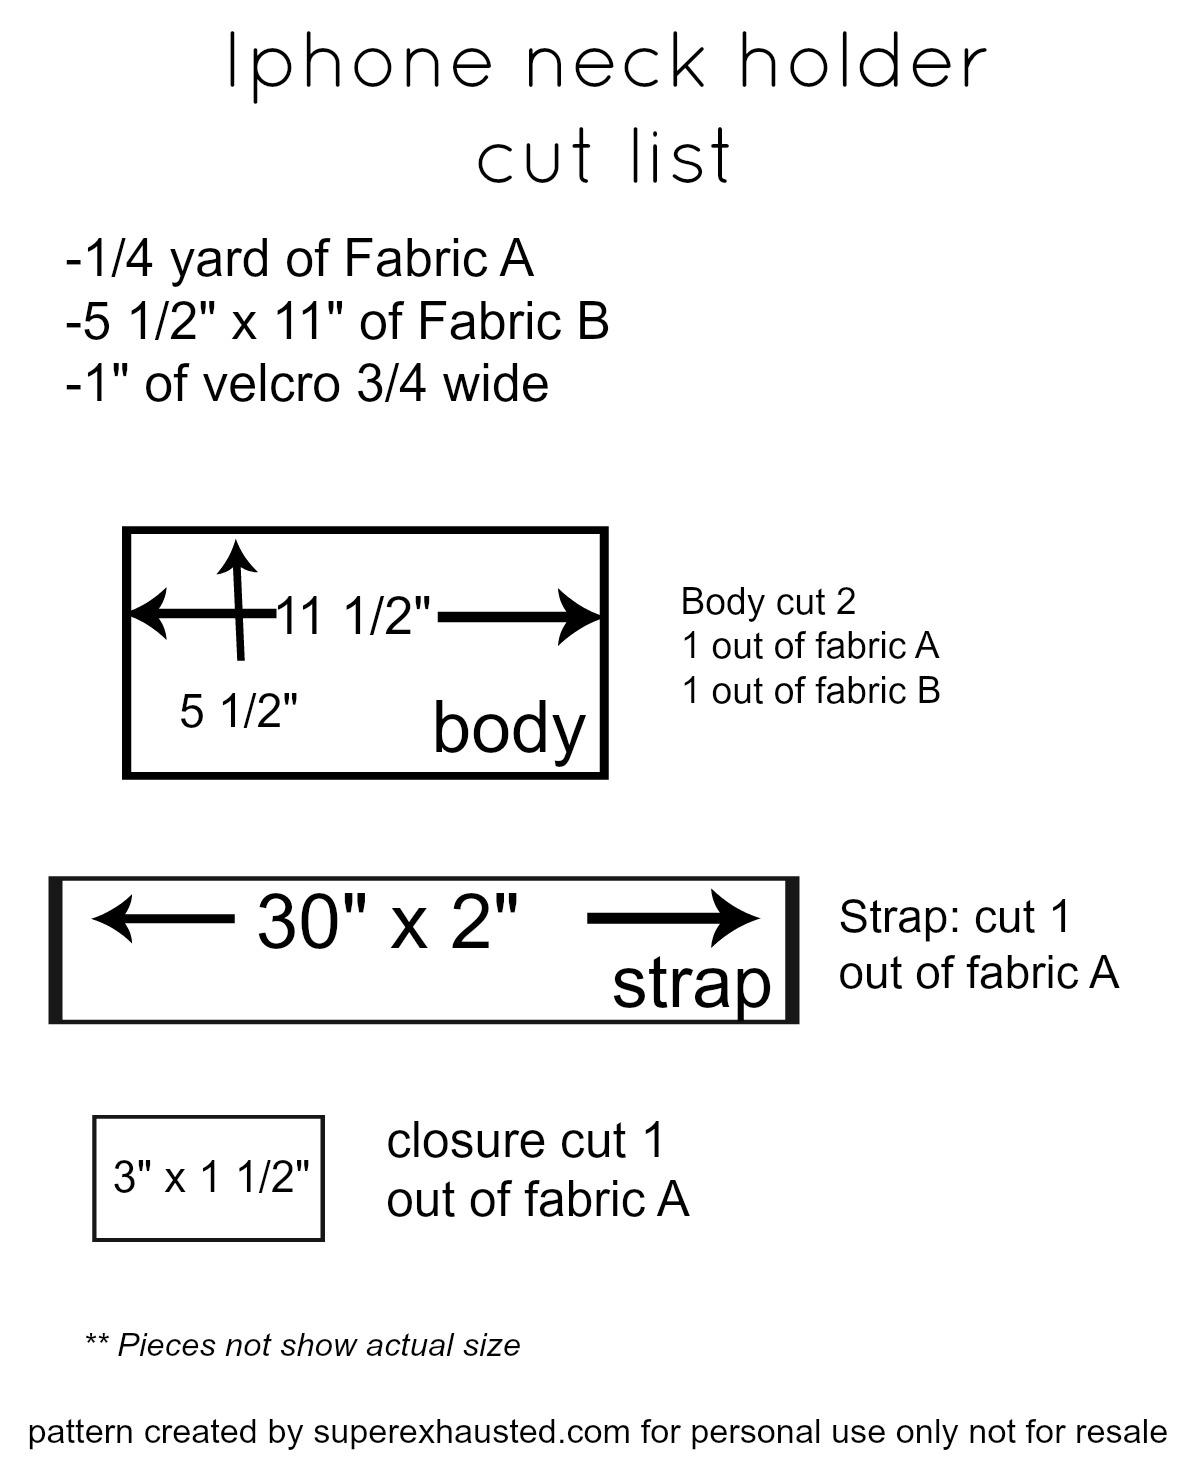
  • Strap 2″x30″ fabric A cut 1
  • Body 5″x10″ Fabric A  cut 1 and Fabric B cut 2
  • Closure 2″x 5″ Fabric B cut 1
  • 1 ” Velcro

Print out of cut parts at bottom of post

  1. Cut piecesiphone neck holder
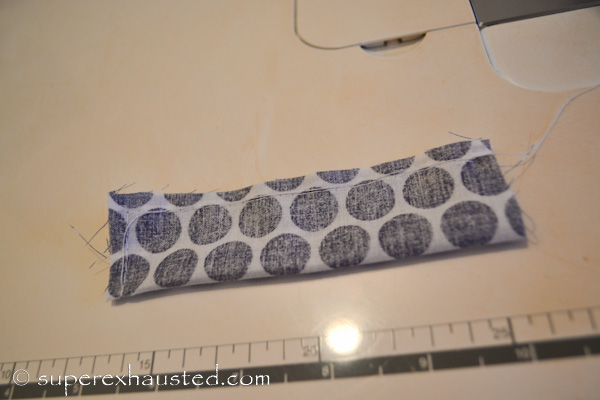
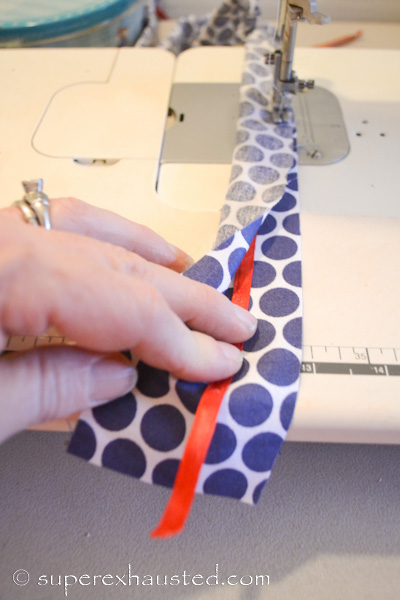
  2. Take closure strap, fold long ways and sew as showniphone neck holder iphone neck holder
  3. Turn and press
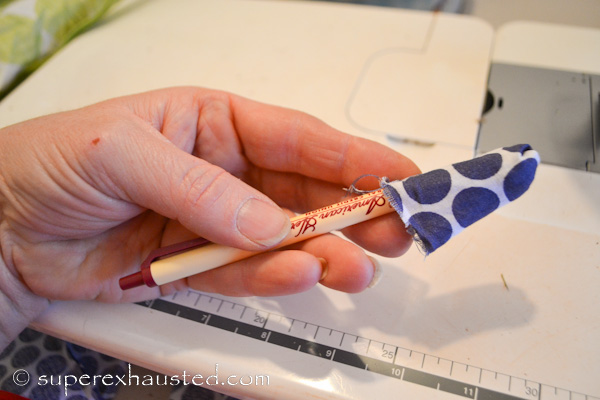
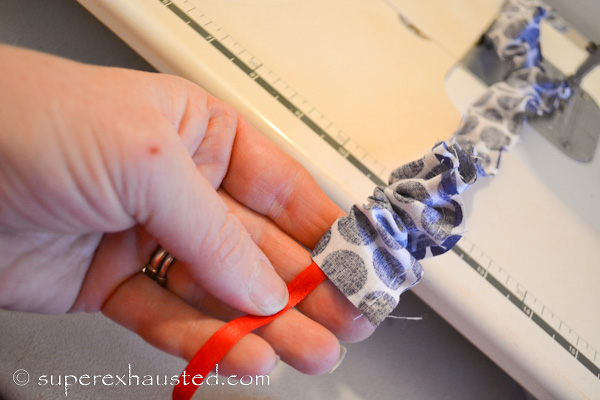
  4. Take strap, fold, sew and turn if you attach a ribbon to one end , sew inside tube and pull makes turning a small strap much easier, cut ribbon off once the strapped was turned. iphone neck holderiphone neck holder
  5. Press strap, set to side
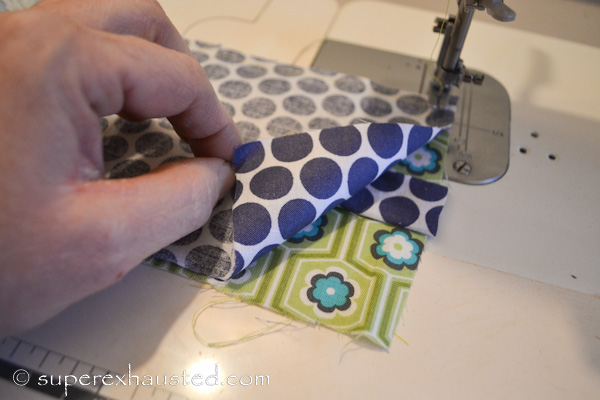
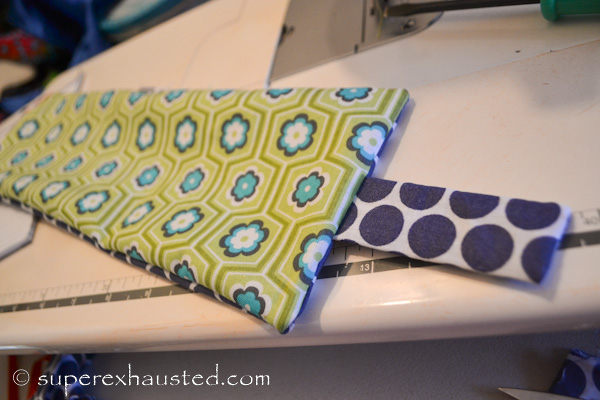
  6. Take body placing wrong side together, place in closure strap at short end sandwiched between the layers.iphone neck holder
  7. Sew around the edged leaving and opening to turn the bodyipod_neck_holder_1_013_0011-11
  8. Clip corners, turn body and press
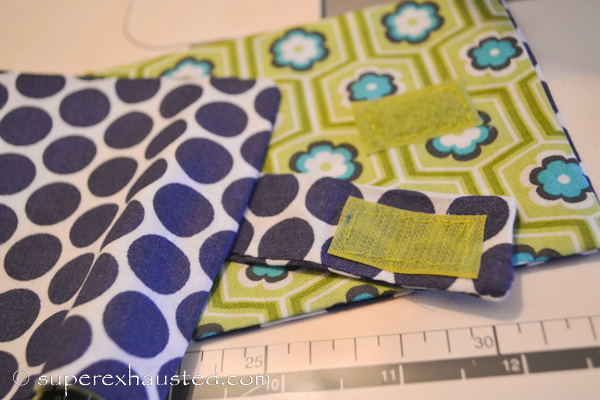
  9. Add Velcro on strap and body so they match upiphone neck holder
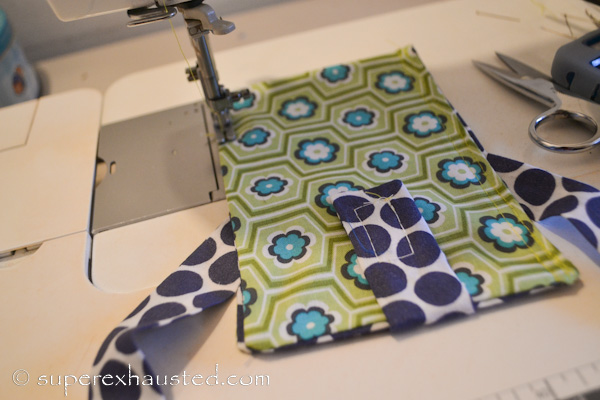
  10. Fold and place neck strap at an angle between the body layers and sewiphone neck holder

The Neck holder is great for hands free talking on the phone ass Headphones and do dishes while you listen to your music.

ipod_neck_holder_1_013_0011-3-3ipod neck holderipod neck holder

ipod holder

Enjoy


Easy Crochet Edge Dollar Store Gloves

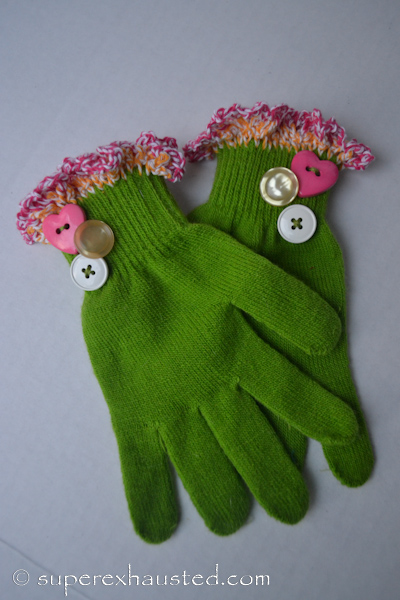
crochet glovesEasy Crochet Edge Dollar Store Gloves I love when you find something inexpensive and turn it in to a gem.  I started working on these $1 gloves a few years ago when the owner of TheTwinery sent me a sample and said you will create something.   I finally deiced I should share the quick easy gift that is an do anywhere craft for under $8.  Crochet Edge Dollar store gloves.   Mow I am not a crocheter all I know how to do is edge stuff,  I have tried to learn to crochet and the little old lady said i will never get crochet because I am a knitter. So the extend of my knowledge is a basic crochet chain stitch. Which is what there simple gloves are.

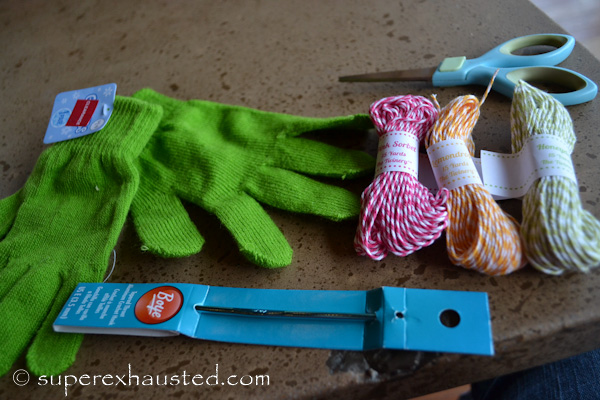
What do you need to make Crochet Edge Gloves:

  • Dollar store stretch gloves
  • Buttons or embellishments
  • 2 colors of twine 15 yards each  TheTwinery.com
  • Size E 4-3.5mm crochet hook
  • Sissors
  • Darning/yarn needle for weaving in loose ends

crochet_gloves_013_001-4

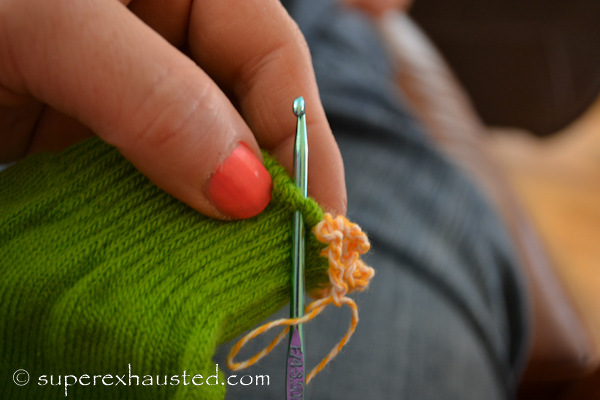
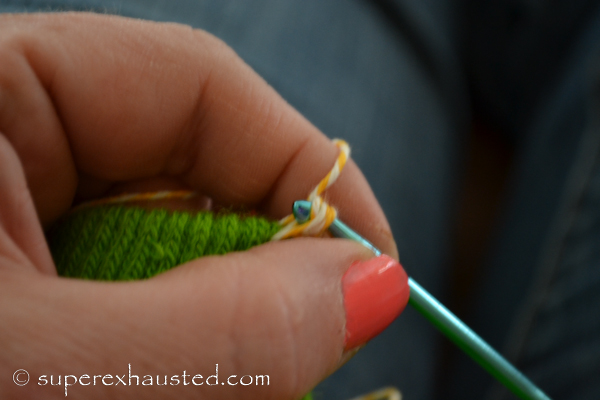
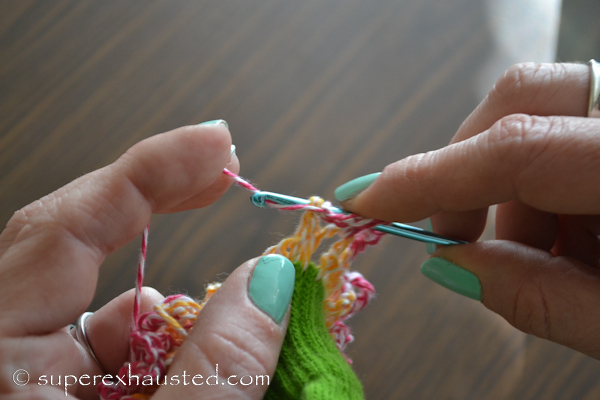
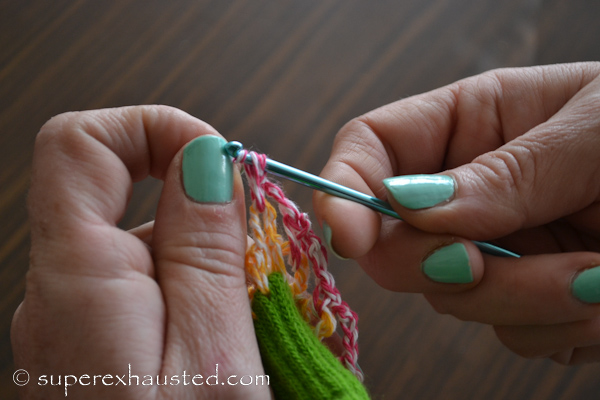
  1. Insert needle in to front of glove. crochet
  2. Wrap the yarn and pull it back through glove,
  3. crochet Leaving the yarn on needle go through the glove again.crochet
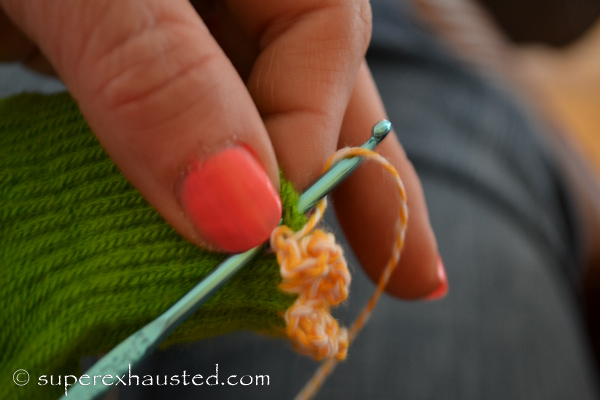
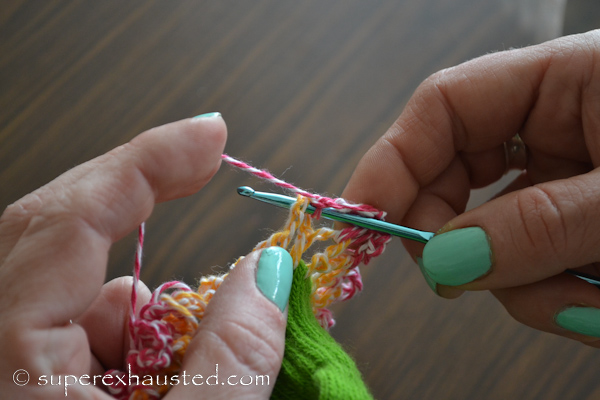
  4. Wrap the yarn again an pull through print your new loop thorough the one that is on the needle
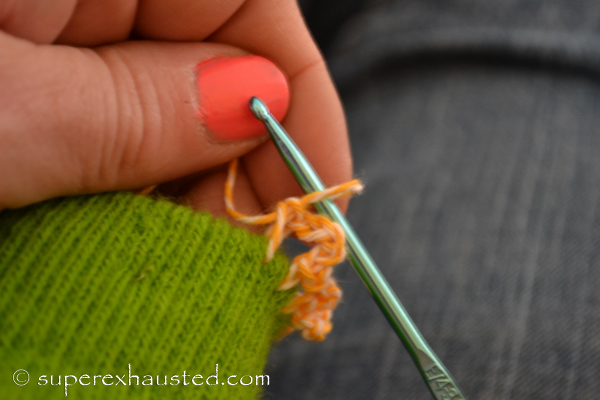
  5. crochet Then loop the yarn around the hook and back through the loop that is on the hook repeat 3 times (this is a single needle chain or single crochet
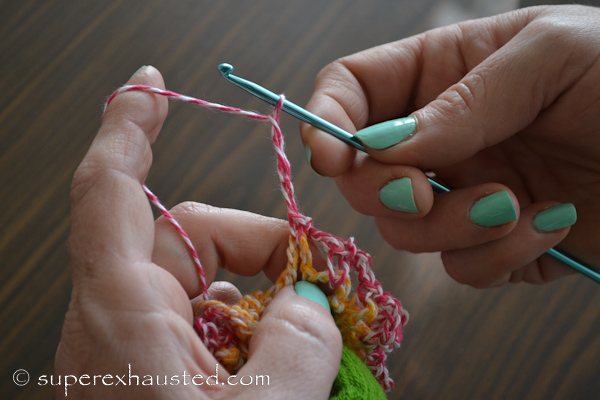
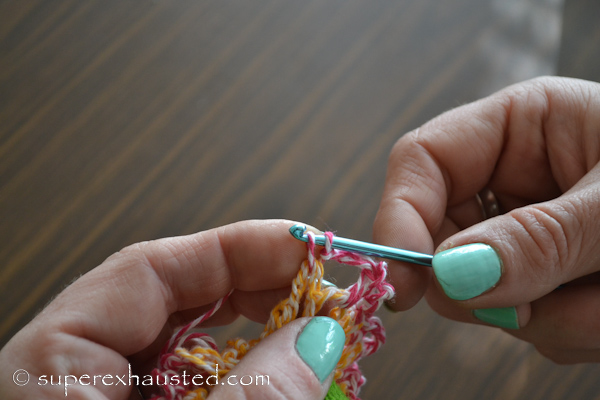
  6. Then after the 4th chain stitch – put the hook back through the cuff of the glovecrochet
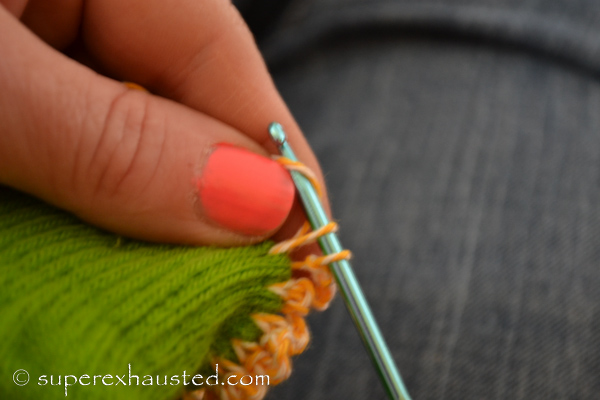
  7. bring the loop through again and repeat 3-4 chainscrochet
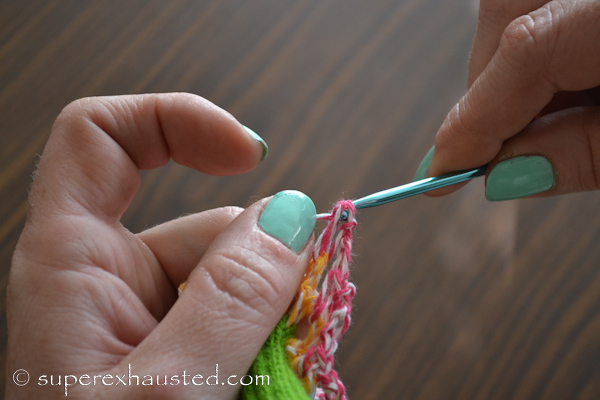
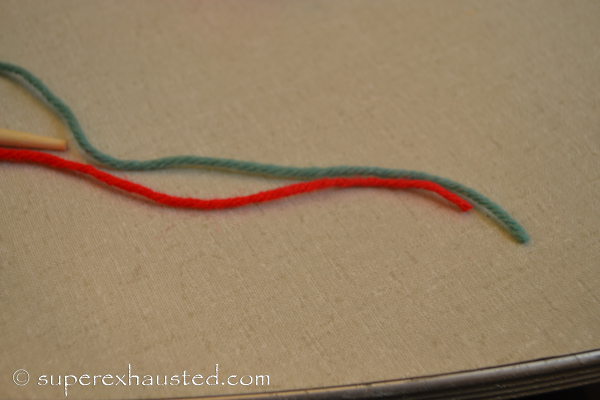
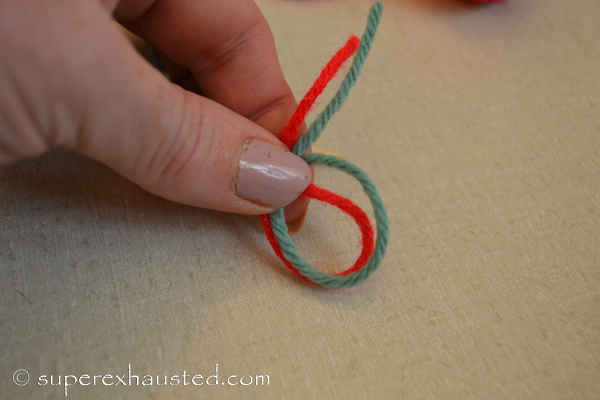
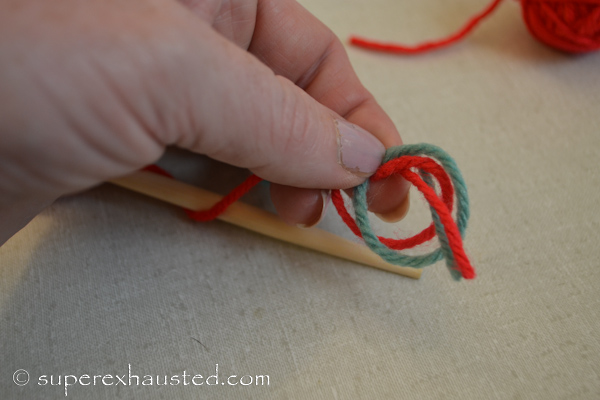
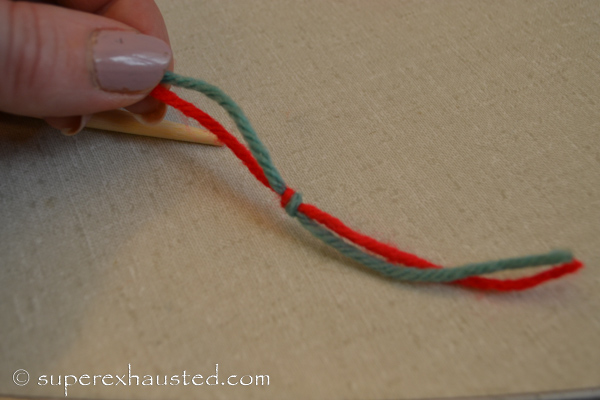
  8. Go around the entire cuff to where you started.  If you have the yarn and want go around again.  Each of the Twine yarn when around 2 cuff twice (like the red pair of gloves)crochet
  9. Just tie off the 1st color (pulling the cut twine through the loop) and start the 2nd color repeating the steps,  I attached at once loop of chain stitch.
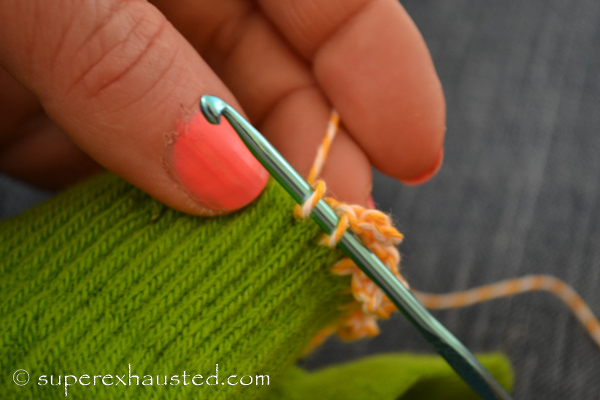
  10. crochet Repeat the chain stitch process on the 2nd color
  11. crochet crochet crochet crochet crochet When you go around the entire cuff with second color tie off.
  12. The weave the tails (ends)  of the yarn through crochet so it – Here is a you tube video link How to weave Tails on Crochet
  13. Finish both gloves and embellish with Button, jewels or embroider edging.

crochet dollar store


I love the Idea of these dollar gloves for Holidays:

  • Christmas Red and green for Christmas with little trees,
  • Chanukah Blue and white with star of David on them .
  • Valentines with hearts
  • Halloween with ghosts and glow in the dark deco
  • Thanksgiving
  • St. Patrick’s Day for a little girl to wear as she walks in a parade
  • crochet gloves

Making fun Snacking with California Raisins Art

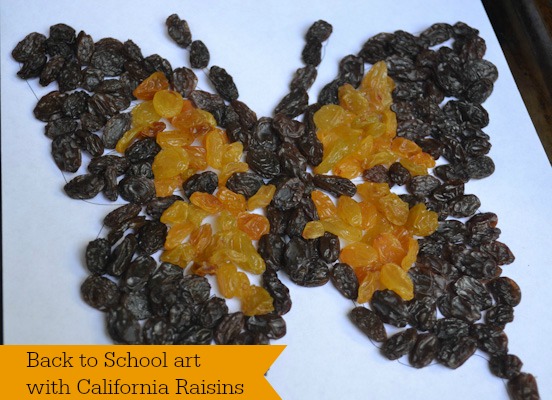
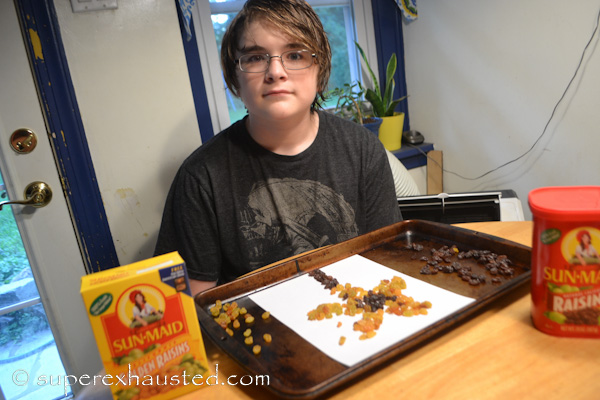
California Raisins artIt is that time of year again and we are getting ready to go back to school thinking about snacks and lunches.  What can you give the kids to make lunch fun?  California Raisins make a great back to school snack sweet and find to share.   So when the Clever girls asked me to do a sponsored post creating art with California Raisins.   I got the whole family involved my husband, son, and daughter.     My kids love raisins so it was not a difficult task to get them involved.

Some fun facts about California Raisins:

  • California Raisins are an all-natural, dried-by-the-sun fruit you can feel good about sending with your kids as they head back to school or offering as an after-school snack. The ingredient list says it all: Raisins.
  • Convenient and portable, California Raisins are a great choice for wholesome, healthy, on-the-go snacking. They are a great value, too! According to the USDA, raisins are the most economical dried fruit.
  • California Raisins come by their sweetness naturally. With California Raisins, the nutrition label tells a great story: Zero fat, no cholesterol and no added sugar. Plus, raisins offer 9% of your daily fiber and potassium, and 6% of your daily iron. (per quarter cup serving)

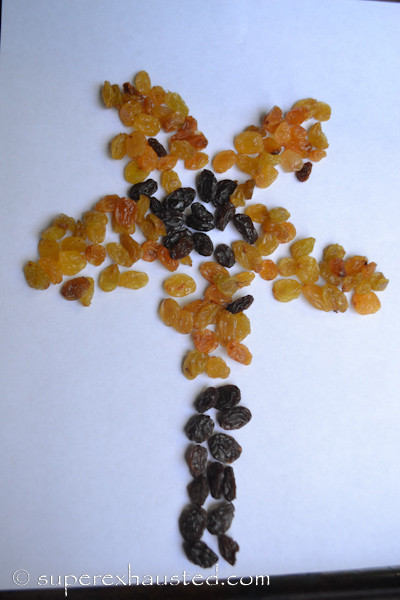
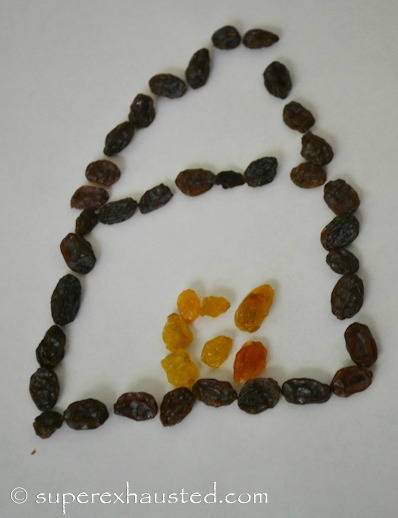
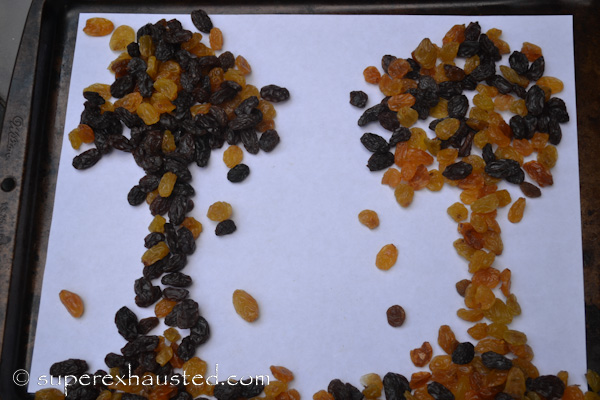
We started with 2 different types of California Raisins  and California  green raisins.   Then we had the kids make pictures, on trays. They had a fun time creating event my 13 year old did one.  Raisins art flower

My daughter arrived home from camp and she promptly wanted to join in on the fun. The combo of the red and yellow raisins allowed us to use the color for shading.   Raisin_art_013_001-29raisin art

Let your kids create some art after school with a healthy raisin snack,  or include an index card in there lunch boxes.

boy making California Raisins art

California Raisins offered California Raisins lovers  Limited Edition Prize Pack. Enter here California Raisins   Facebook page.

I was selected for this opportunity as a member of Clever Girls Collective and the content and opinions expressed here are all my own.

How to make a Gods Eye

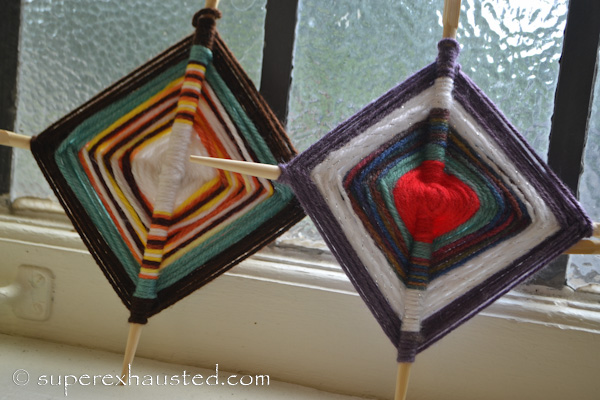
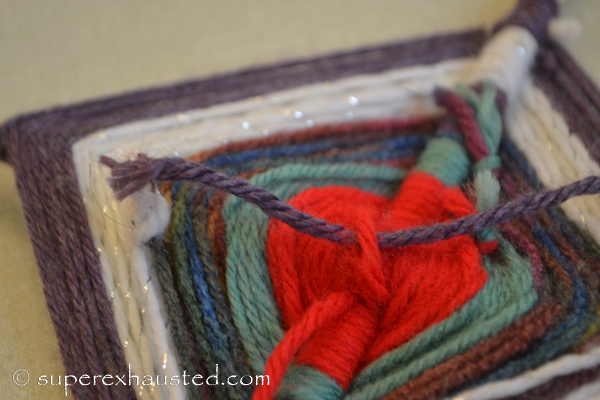
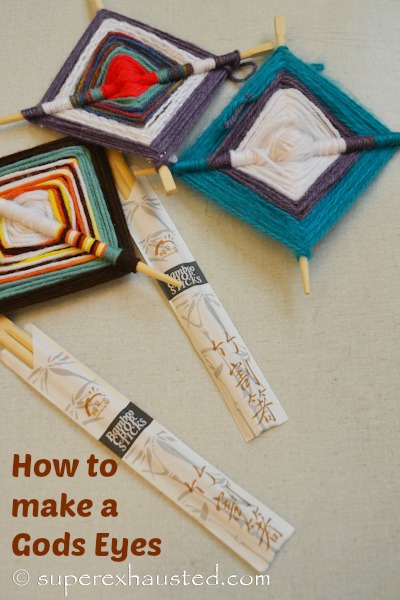
gods eyesHow to make a Gods Eye: So my church summer did a art camp where they work on a play and do a complete performance in a week.  It is a great to see.  Think summer stock for church.   I was in charge of teaching a art segment and since the play was from the 1970’s I decided to make a craft that I did when I was a Kid Gods Eyes.

When I taught the class the kids ranged from 4- 12 years.  The kids 4-7 needed a little help.  The older kids need help to knot off but after being shown they complete the Gods eye on there own.

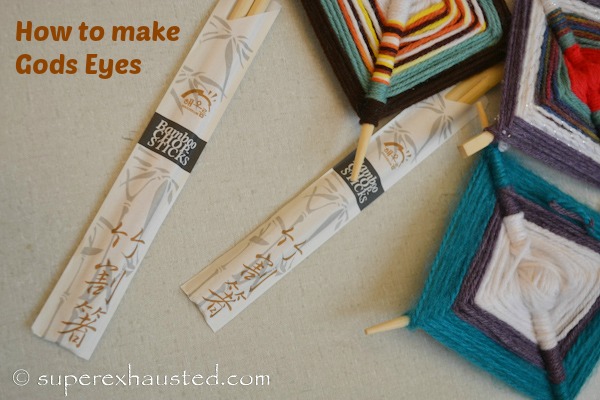
When I was a kid I used sticks I would find in the yard,  since I had 30 kids for my class- I went to the Asia market and purchased chop sticks:

How to a make Gods Eyesgods eye

Supplies:

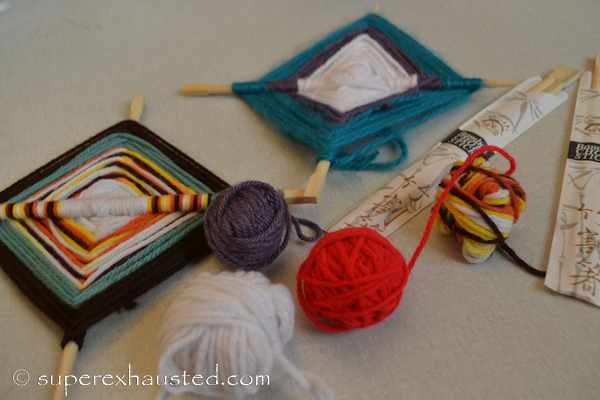
  • Yarn ends various colors
  • Chop Sticks

gods eye

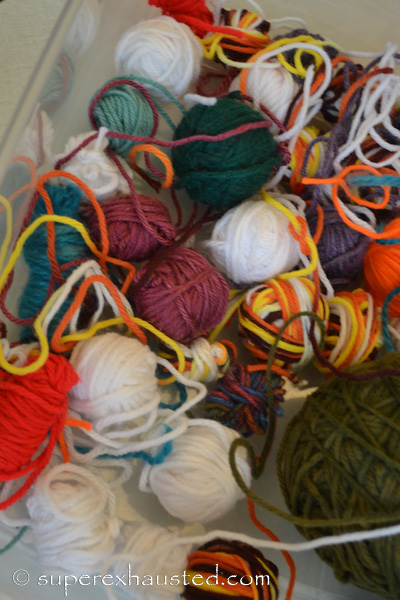
  1. Make the yarn in to small yarn balls so easy to manageyarn
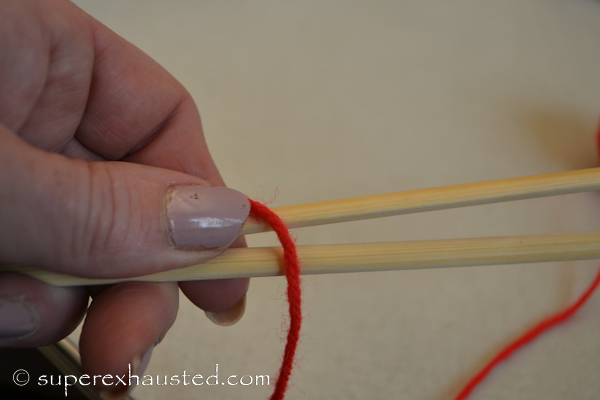
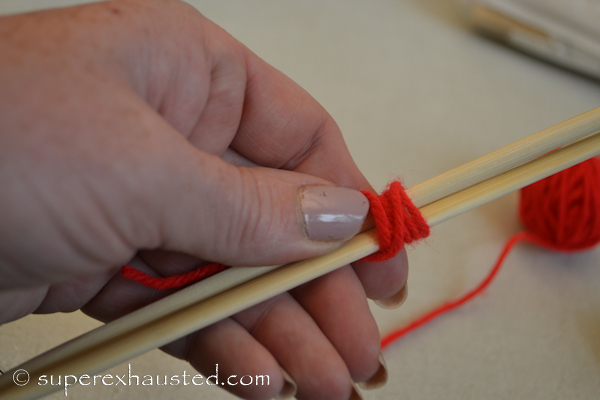
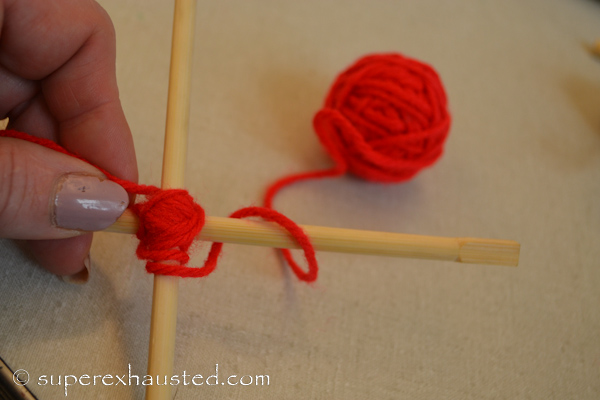
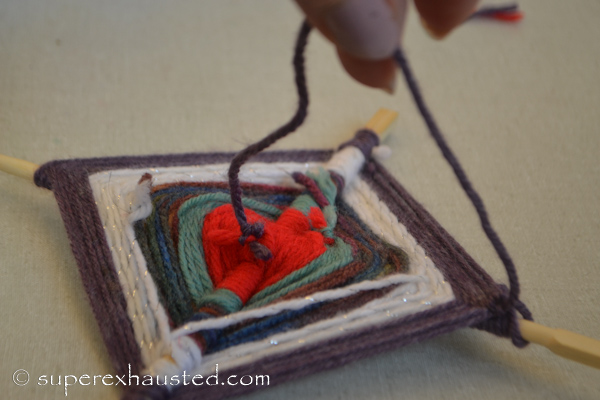
  2. Then take the chop sticks and start wrapping the yarn, with the sticks parallelchop sticks chop stitck knots
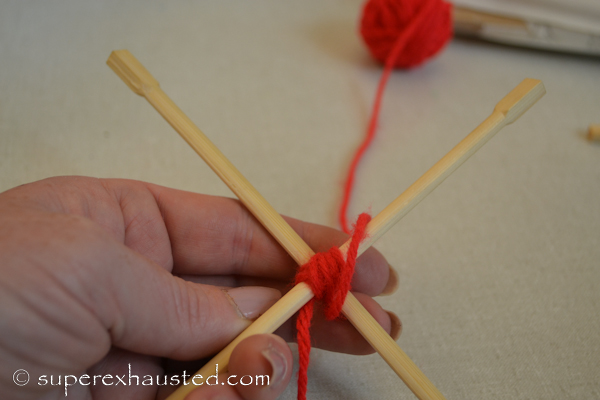
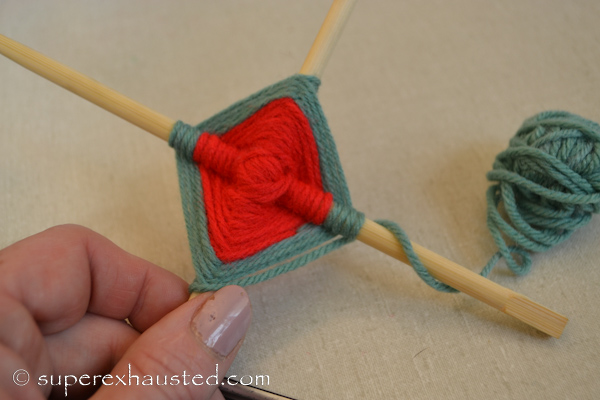
  3. Then split the chop sticks into an X and wrap the yarn to stabilize the Xchop sticks with yarn
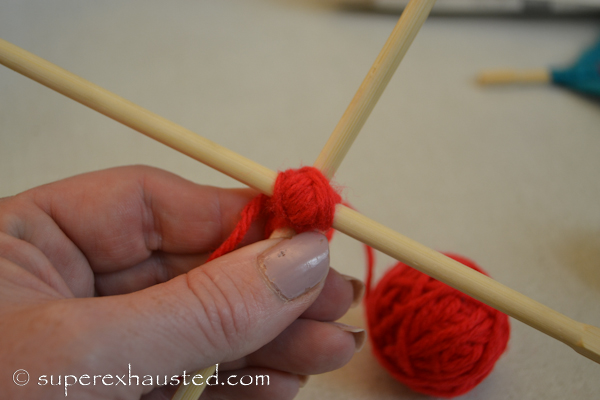
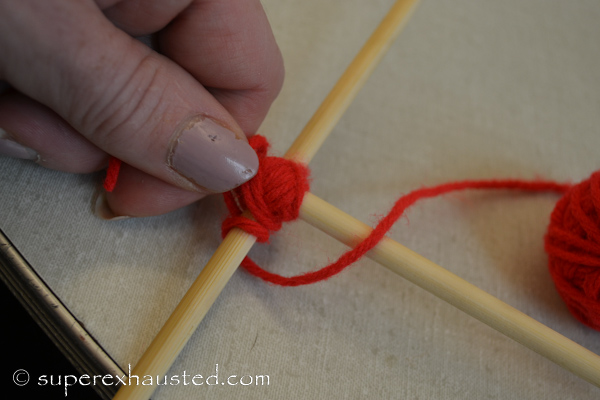
  4. Then reverse the yarn  and wrap the yarnchop sticks with yarn
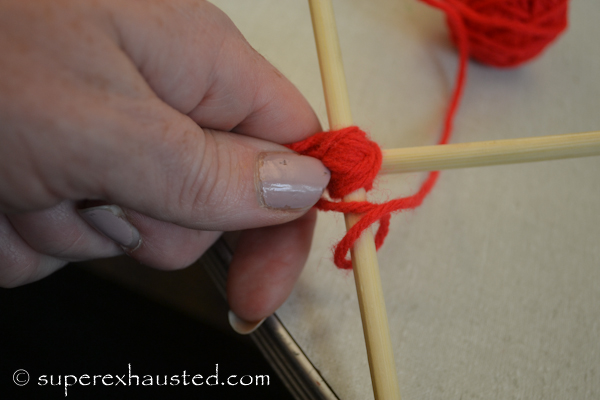
  5. Then start move the yarn around the chop sticks – wrap yarn around the chopstickchop sticks with yarn gods_eye_013_001-25
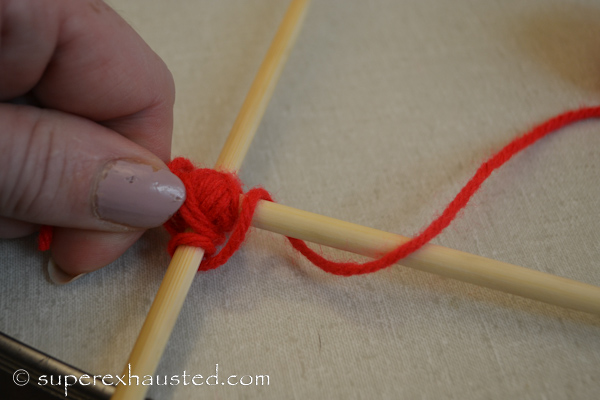
  6. Under and around one then to the next chop stickchop sticks with yarn
  7. Then over the top and around the next  gods_eye_013_001-27
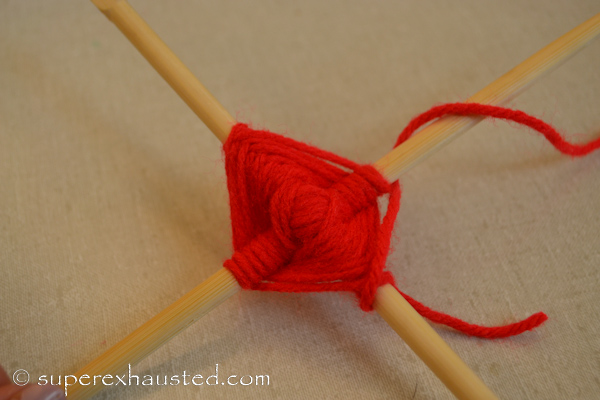
  8. Repeat under and wrap around and over and wrap, moving from one chop stick to the next.chop sticks with yarn
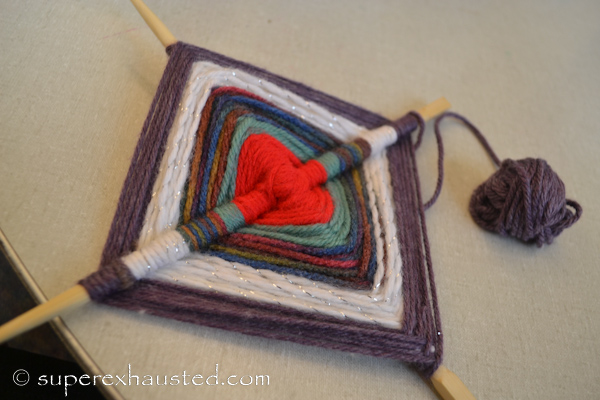
  9. Then switch colors tieing a knot tie a knot tie a knot tie a knot tie a knot tie a knot yarn and chop sticks
  10. Wrap to the switching the colorsgods eye
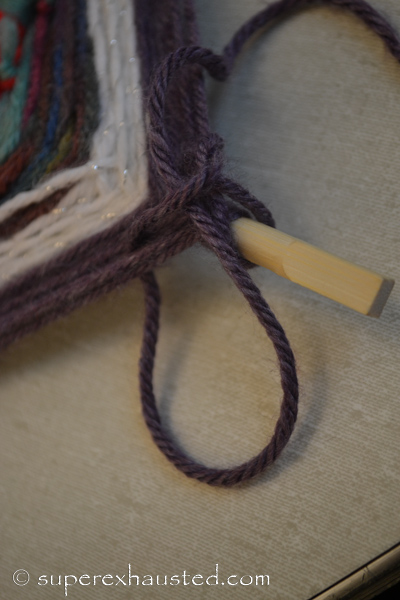
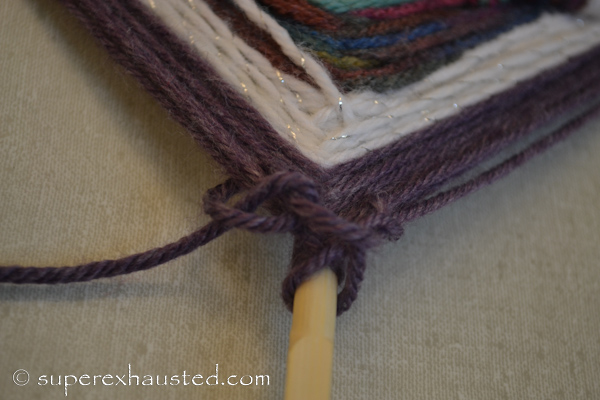
  11. Then once you are done knot off the yarn gods eyegods eye
  12. Create a loop to hang with by knotting to the center. gods eye gods_eye_013_001-41

This is a fun craft the kids will love.  Every kid in my class asked to make more and xtra supplies to make at home.gods eyes

Be sure to enter my Calgon giveaway  on my Plus Size blog BigGirlsGuide

How to make a Terrarium : Succulent Container Garden

a succulent terrariumHow to make a Terrarium : A fun activities for you Family is make Succulent Container Garden terrarium which are great gift. This year we are giving my daughters teacher a succulent garden, that my a daughter made with a little help from me. When I was a little girl my mother who has a amazing green thumb  gave all out teachers spider plants as a gift. She would cut the baby off shoots, pot then and have a plant to give to the teachers. Me : I would kill a spider plant. I ok I have killed a spider plant or 2 in my day, yes I am a plant murderer.
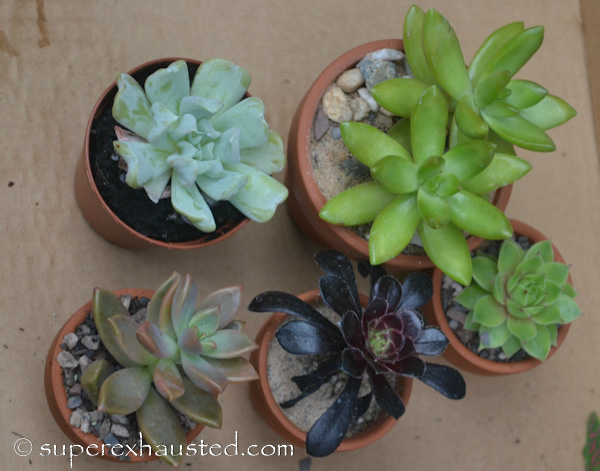
Several months ago 2 of my blogging buddies Diane and Hillary got together and made terrariums.  Mine for a 1st attempt was ok.. I would like to switch out the one plant, kind of a bully to the other plants. The thankful it is still alive, I have not killed the plants.. the fact the Terrarium is it own closed eco system is probably the reason, LOW maintenance.  Succulents are great drought resistance and hardy..Hello come to mama –  I also love the modern look, with clean lines.assorted succulents
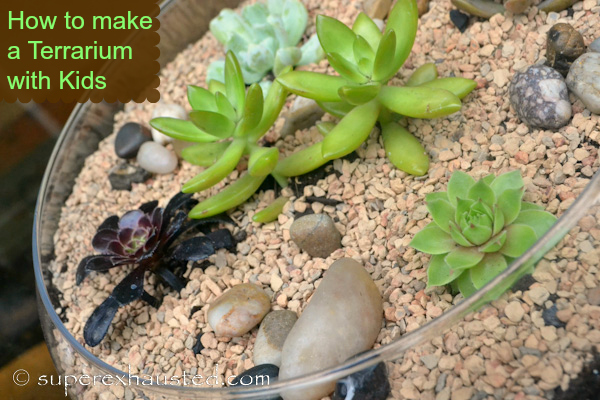
So I decided to make make some more, learning. I love the idea of finding a container and let the container speak to me about the plants. So be sure to check out Local thrift stores and yard sales.  I found this great low bowl at the thrift store it was $2. It said Succulents low and topless.  It was perfect for the low kill rate plant- because I don’t know if her teacher is a green thumb criminal.

So here is how to make a terrarium… 1st find a an excellent garden center- Mine is a local family own business Primex. For your 1st time out it pays to go to people who know what they are doing. Big Box Store not always helpful and supporting a local business.

Facts you need to know about How to make a Terrarium:

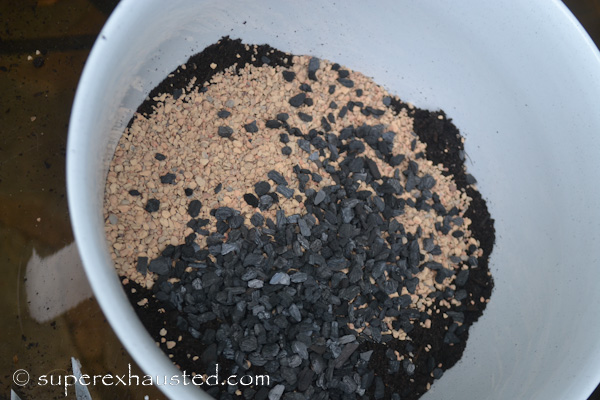
Terrarium or Horticultural Charcoal: according to this post on PagHat.com there is a difference in charcoal so don’t use the kind you use in aquariums or what is in your water filter, buy the one specifically for horticulture- My  garden center confirmed his advice and they sold us a small bag of Terrarium /Horticultural charcoal ($1) which was enough for 3 Terrariums.charcole
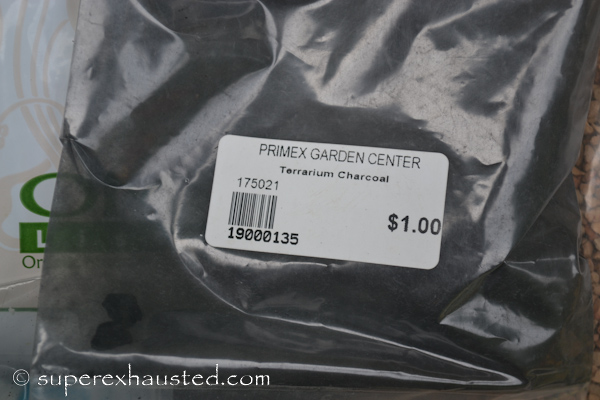
Soil: It was recommend to use an organic soil with no clean and high in organic matter. Packaged potting soil often contains all of the ingredients needed for healthy, thriving terrarium plants. Bagged soil is sterilized, making it ready to use without further preparation.  It was recommend we went with a Peat Free and NO Perlite (white little ball) in the soil.  From my research is because the perlite holds too much water and can allowing microbes to grow. It seams others have a difference of opinion. Clean Sterile soil is the key.

Turface: which is a clay gravel that is fast draining since the Succulents don’t need alot of water this allows for the dry environment. Turface look familiar ? it also use in ball-fields.

How to make a Terrarium :

  • Container to hold your Terrarium
  • Succulents (work with 1, 3, 5- uneven numbers)
  • Soil- perlite free
  • Terrarium / Horticultural Charcoal
  • Turface small bag (i purchased a 5lb I have enough for 3-4 more gardens
  • Pebbles (I got mine at Ikea)
  • Tools: Spoon, mixing bowl,cup
  1. Make sure you container is clean
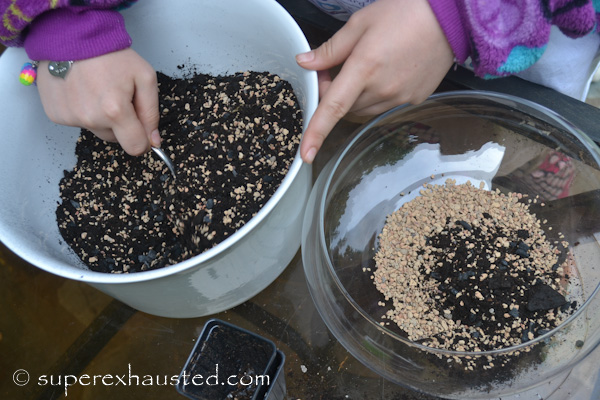
  2. In separate Mix soil 3 cups of soil; 1 cup of Turface & 1/2 cup of charcoal (make 2  batches if needed – I needed 2 batches roughly)terrarium soil
  3. I placed Turface/or pepples on the bottom of the glass dish (the garden center said not required)making the terrarium
  4. Next soil about 1/2 up the container (so when I planted I did not hit the gravel on the bottom)
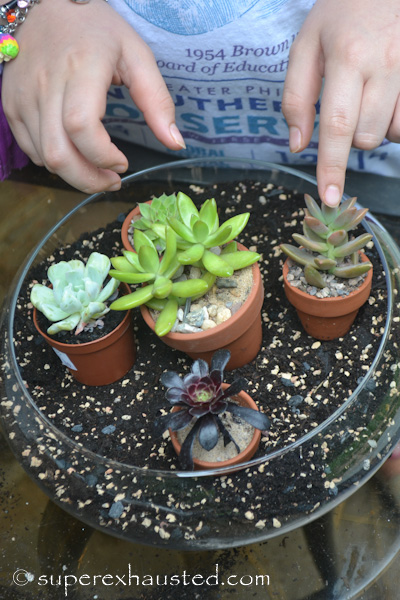
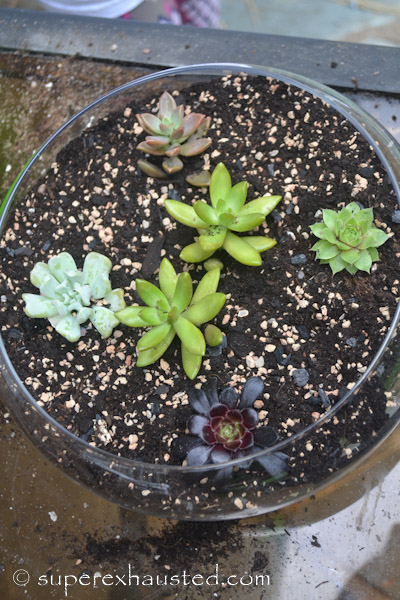
  5. Arrange the lay out of the SucculantsHow to make a Terrarium
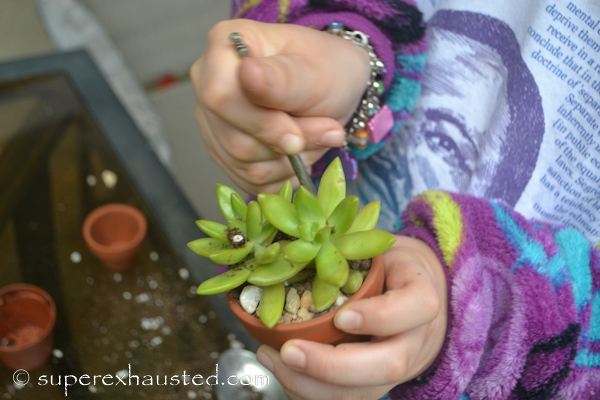
  6. Plant the succulent plants,  some of my plants came in hard terracotta pots so my daughter used a small spoon to loose up the soil, and not damage the rootsplanting succulentsplants planted
  7. Mist soil gently  with a mister to not over water
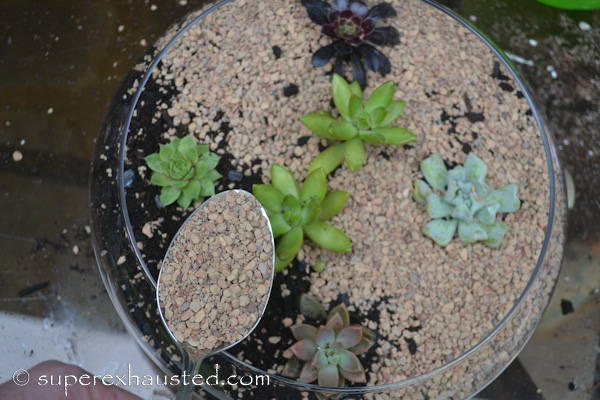
  8. Add Turface on top with a spoon so as not to get it on the plantsadding turface to succulents
  9. I used a tweezers to remove any of the Turface that got on the plants
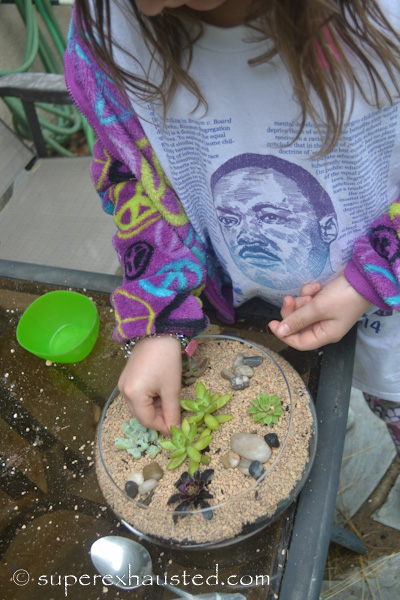
  10. Add decorative stones or items to add to you desert theme – etsy has some or little clean toys from your kids collect try Mini Figures or Poly Pocketsaddting decorative  items to terrarium
  11. These are little plants but they do have plenty of room to grow.

How to make a terrarium :My Daughter loved Succulent Container Garden for her teacher.   I cant wait to see what it will look like over time.  I hope the teacher will enjoy it.
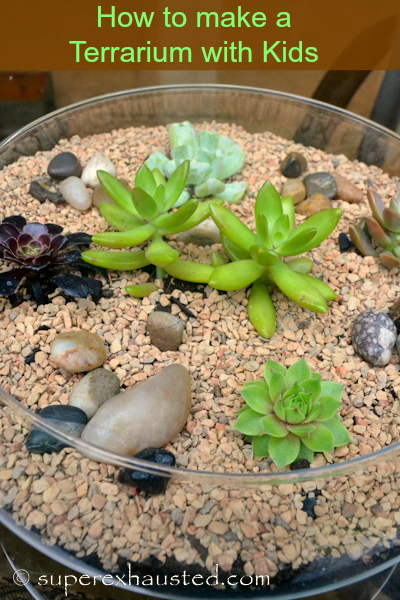
How_to_make_a_terrarium_013_001-2-23

The project cost me $2 container, $11.00 soil/gravel/charcoal (enough to do 3) , $15 for the plants.  The total cost $20 each if you were to buy one it would be $70

Check out my other Fun Activities:

Making colorful Pancake Art with the kids

Make a Photo frame from your favorite book and you star as the main character

Sharpie Tie Dyed Tree T Shirt

How to make a Raised Pallet Garden

10 Easy American Girl Crafts

Linking to SitsGirls Craft link Up
 

15 Free Hat Easy Patterns for adults : Knitting with one skein

women wearing an easy knit hat

15 Free Hat Easy Patterns for adults : Knitting  I recently was discussing knitting needles on Facebook,  with a friend Rachee.  The discussion was why would you need knitting needles that cost $22.  I am pro for more expensive needles,  they are like butter and well worth the money. The discussion was about the Addi Turbos found you can find them here using my Amazon Affiliate link for Addi Turbo Knitting Needles,

Our discussion inspired me to knit.  I was planning to spend the next few days watching my kids at the pool.  It was the championships and if you ever been to a winter swim meet space is limited but you sit for hours for you kids to swim less than 5 minutes.   I sat a total of 12 hours on the bleachers in 3 days.   So I had time, to kill.  I had one skein of yarn i picked up in Lancaster and the Bird In hand Knitting shop.

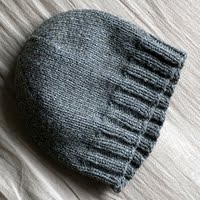
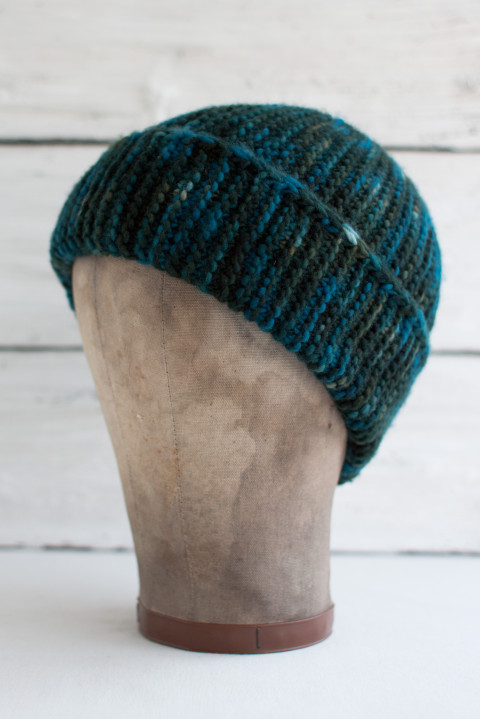
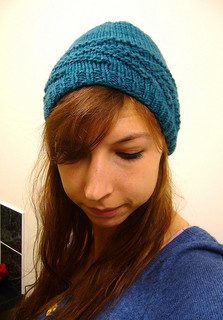
I made the hat show above using Size 9 Addi Turbos circular needles, 9 dbl points with Cascade superwash. I followed the size Med directions.   I added extra rows, 2 in body and 3 at the decrease to give the more slouch look.  I also crochet a flower.  Which I am still deciding if I like the flower.  It took me about 3-4 hours total.
15 Free Hat Easy Patterns for adults : Knitting  with One Skein


 From Nerdy Girls Knits this is hat I knit mine show above are different  because of yarn and needles, as described aboveknit hat

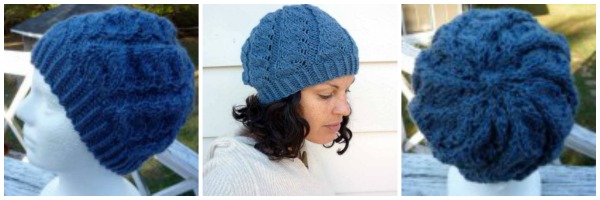
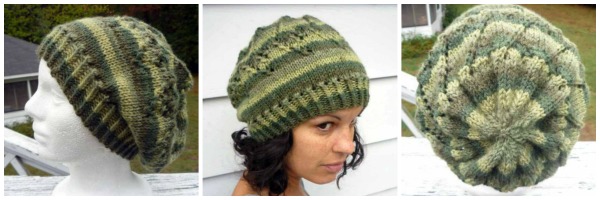
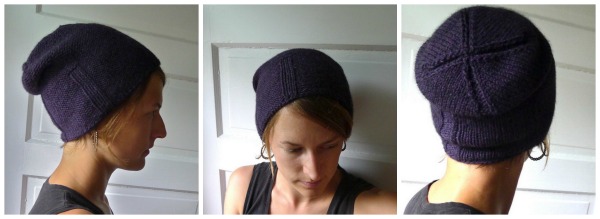
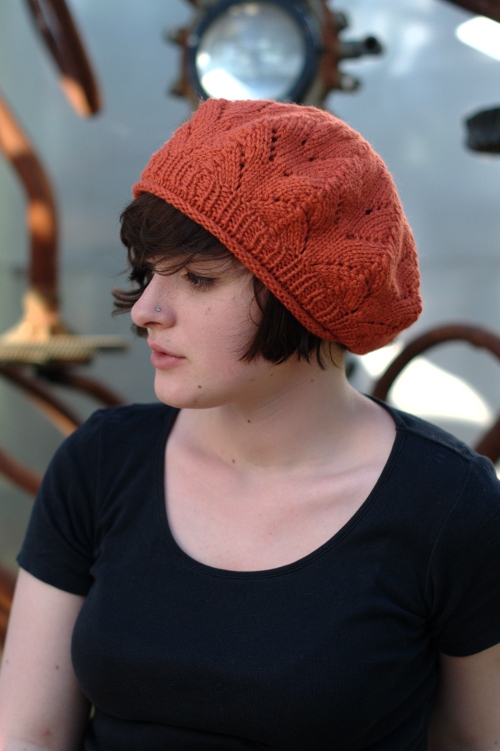
Free One Skein  Hat Knit Pattern : Shitaki from FaerWare Designs  Check out her etsy store FaerWear for more patternswomen in hatThis Pattern from Magnolia One Skein Hat  Maria Soche on Ravley  knitted hat

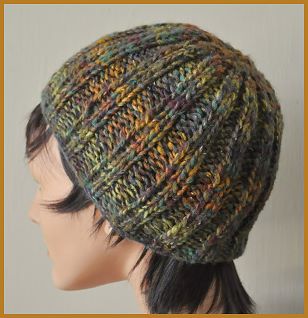
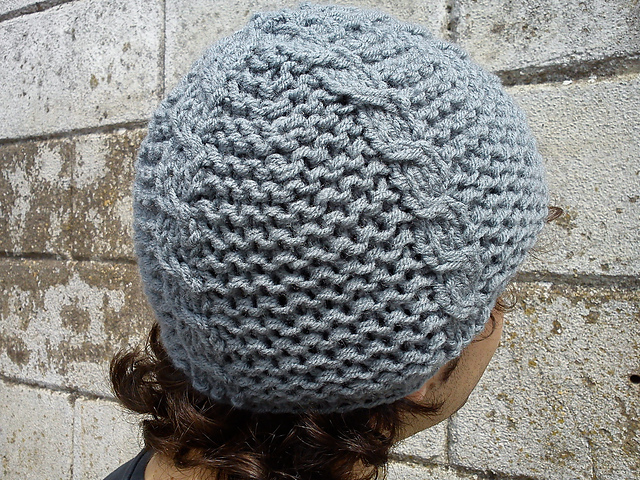
PaperBag Cap from Fairmount FibershatThe Arrow One Skein Hat Knit  Design from FaerWear Design women in a hatThe Kami Hat one Skein from Flat Fox girl in a hatThis Magenta Cable Hat  from Meg White


Captain Hat One Skein  from Rosie Garmendia
captain hat

Simple Wreath hat from  Andrea Black
girl in a hat

Meret from Wolly Wormhead
Girl in a hat
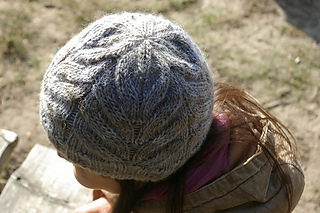
The Urchin From Knitty

urchin

Shambala Crystal Place Yarns easy one skein hat

knit hat

Autumn Simplicity Hat Knitting Pattern

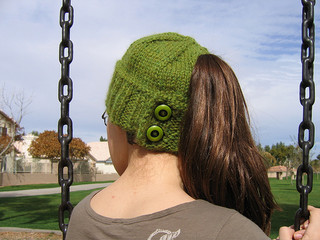
knitted hatHannah Pattern One Skein Hat with Pony Tail cut out

girl wearing a hat

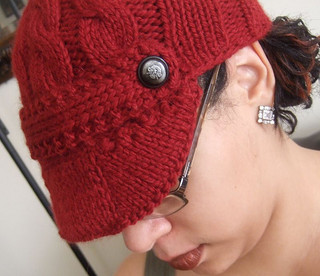
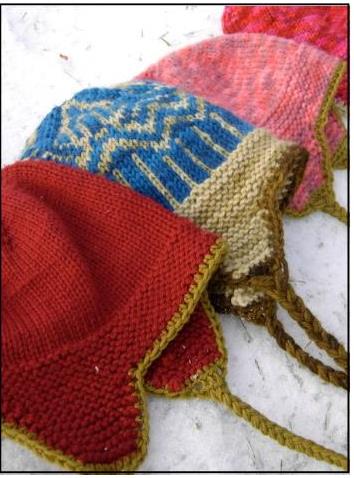
Thorpe Ear Flap One Skein Hat  By Kristen Kapur at Through the loops

hat

 I cant wait to try more of these designs I love the idea of buy a yarn and being able to make a hat with one skein.

Beach Memory Jars

Beach Memory Jars

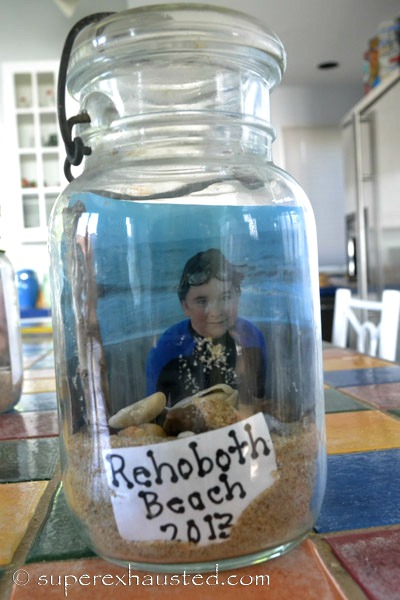
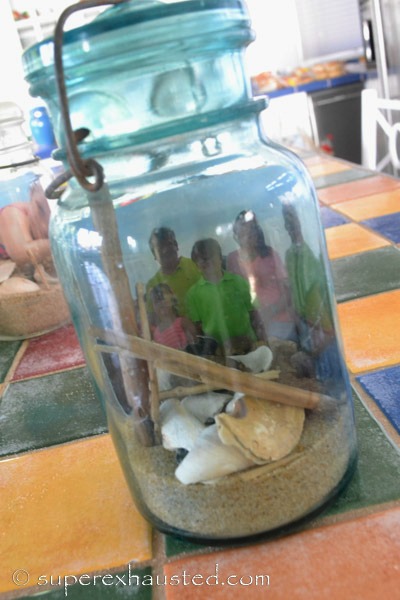
Beach Memory Jars This year when we went to the shore we decided to make memory beach jars  which my sister inlaw found on pintrest.  It is a great Kids Craft. We gave the kids some vintage mason jars and sent them down to the beach to get some sand and  shells.  The kids had a great time choosing. My 12 year old was like awe mom I don’t want to do it .. then he totally got in to the waves to get some pebbles and rocks for his jar. We bought the vintage mason jars with us to the shore you can find them on ebay or at a local vintage shop.
Tools:

  • Mason Jar  Tip: You don’t have to use mason jar you recycle tomato sauce jars
  • sand
  • beach items, shells drift wood
  • bowl
  • colander to strain sand
  • paper/markers
  • Picture

beach memory jar


Instructions:

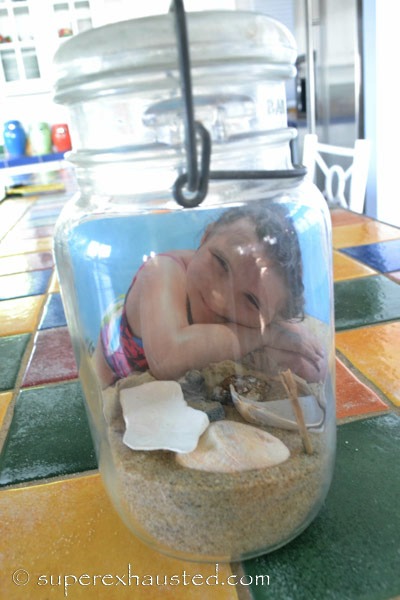
  • Picture tip: The pictures we tried close and far away,  we both agreed a closer picture looks better.  I got down on to the sand and took this picture of my daughter. It make it look like she is laying on the sand in her jar.
  • We ran to CVS while we were at the shore to get pictures printed.  I actually sent them from my laptop, from the beach house to the local  CVS and picked them up an hour later.  I could choose and edit any photos prior and did not waste any time searching through my photos in store on equipment I was unfamiliar with.   For editing I use PicMonkey which is free. Picture size was 4×6″ landscape picture.

girl laying in the sand

  • When you fill the jars with sand you need 1/4 of a jar of sand.  Then the add the shells, drift wood, and stones,  what ever is memorable for that beach.

  • We also make label with the beach name and year.beach jars

The tricky part was putting all the elements in the jar.

  • I ended using a bowl and strainer/colander  empty our the sand,  adding the sand with a large spoon,
  • Add front label tilting the jar with tongs and adding more sand slowly.
  • Then tilt the sand towards the front and add the picture.
  • Ten add your shells, stones, drift wood, and maybe small toys (legos, trinkets from the boardwalk)

The moms did a beach memory with the entire family.

beach memory jar

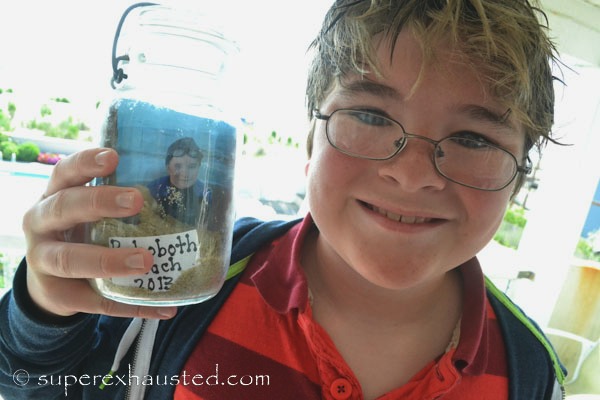
We then took a picture with the kids and their Jars. kid with his beach  jar

Have a great time perserving your memories.

How to Repaint a Front Door

Front door

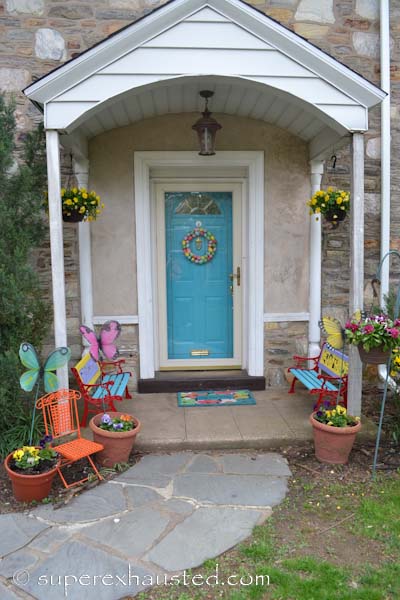
How to Paint a Front door.  So I decided I need a fun spring make over to my Front door.  I wanted a Pop of color for spring an liven up my front door.   So off to th store to buy paint an spray paint.  I decided to paint the benches and add flowers.  I love color it can total change your mood.

How to Paint a Front Door

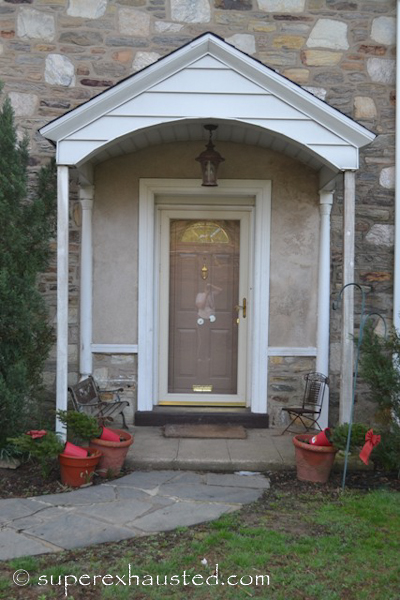
Before I had a boring entrance. front door

Tools:

  • Drop cloth
  • Exterior Paint A pint was enough to do the door
  • Small roller
  • Paint brushes
  • Painters Tap
  • If doing benches (3 -4 cans of spray paint)

The project total took about 3 hours with benches:

  1. Wash front door with Fantastic or a cleaner and paper towels to remove and oil and dirt from every day use and allow to dry.
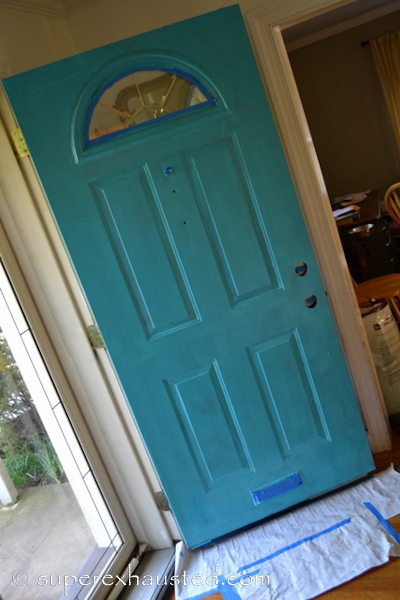
  2. I started with the front door since It need to be closed at some point.  I taped newspaper/or a drop cloth to the floor in side
  3. Removed the door handle and lock I taped the window and Mail slot since they could not be removed.
  4. You could take the door off the hinges,  I was not planning to do both sides I decided to leave it up.
  5. I did 2-3 coats allow to dry between.Door

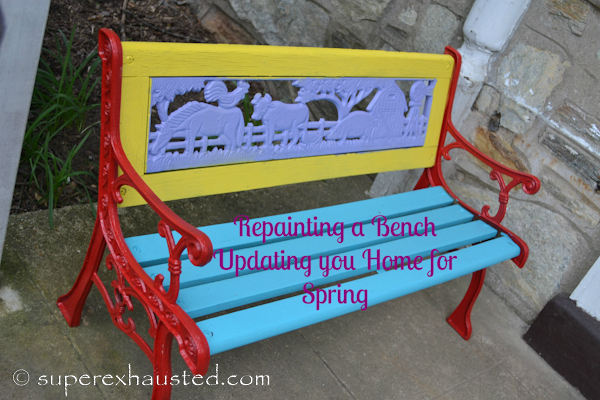
How to Repainting Outside Chairs and Benches

While I was wait for the front door to dry i painted my Chair and benches.  if you don’t have benches be sure to Check out thrift stores.  Or you might see one someone has toss to the curb.

Be sure to use a stiff wire brush to loose any metal.

Then tape off the area you don’t want painted and spray.  I also moved to a side part of my law where the over spray does not get on the house.

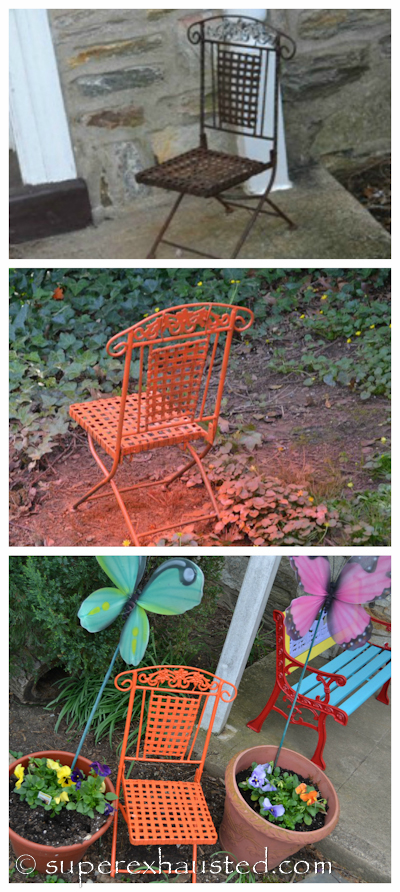
Here is a Step By Step:repainting a benchThen I did the chair which took less than 10 minutes:

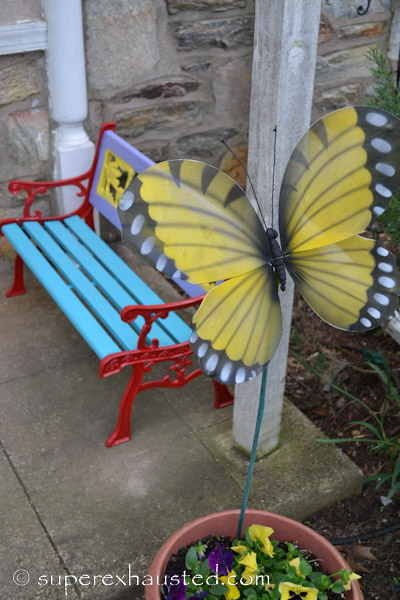
outside chair So that is my Spring makeover to my front entrance.  I love the pop of color.  I added a new door mat and flowers.  A wreath is a pop of color.  This door I know looks bright.  I did this project last year and I have lived with it for over a year.  I have to say I still love my door.  I always can tell people which house is mine.  The door goes well all year long.  In the summer a bright sunflower Wreath,  Fall : orange flowers looks great and in winter Reed and white or a Pin wreath pops.  bench bench

What project do you have lined up for spring?


American Girl Doll Picture Frame

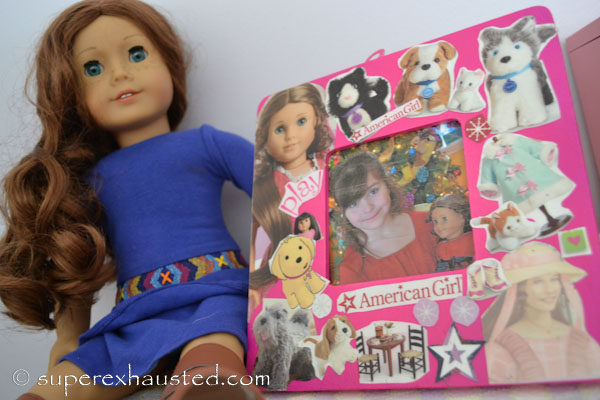
American girl picture frameHow to make an American Girl Doll Picture. This is a great craft idea for an American girl party favor or a girls craft project.  It is a easy project for your daughter to make.  We used the catalog the American Girl Doll catalog for the pictures and verbage.  My daughter love learning how to make this American girl craft.  She help cut out the pictures, and planed out the lay out herself.

Materials For an American Girl Picture Frame:

  • Wooden Frames I got mine from AC Moore for $1 each they also have one with Mirrors so you can do a Mirrior instead of a fame.
  • Mod Podge
  • Brush or foam brush (you can buy in bulk $6-7 for 10 foam brushes)
  • Roller or sponge
  • scissors
  • Pink Spray Paint or Acrlich paint
  • American Girl catalog


how to make a american girl picture frame

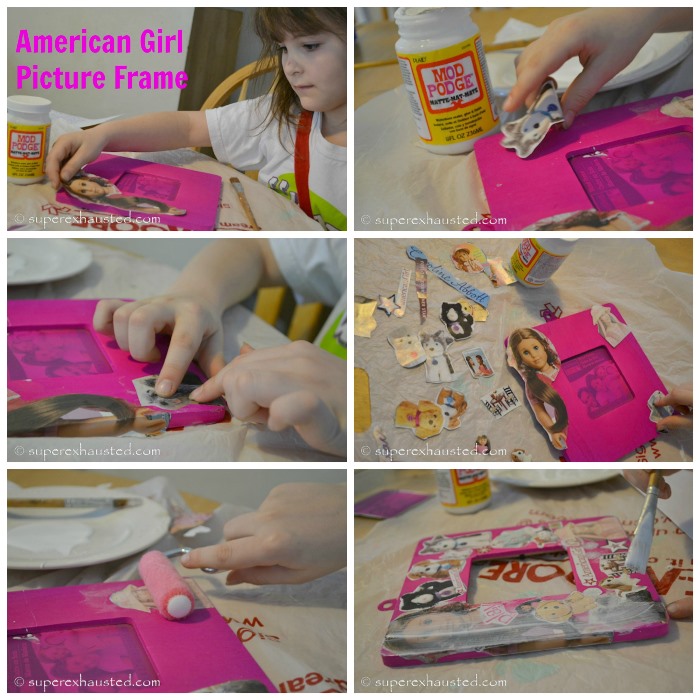
Instructions to make an American Girl Doll Picture Frame:

  1. Remove the picture area from wooden frame.
  2. 1 day Prior With adult supervision spray paint or paint  the wooden frames so they have time to dry.  I was doing many frames so spray paint was easier for me.
  3. Cut out pictures from the catalog
  4. Plan out layout of  the American Girl pictures
  5. Apply the Mod Podge where you want the picture to go.
  6. Carefully place down picture the catalog is thin so do not over apply Mod Podge and whee you put it down it stays you can move the pictures.
  7. Be sure to roller or with a sponge careful smooth out the picture removing all air bubbles out from under the pictures.
  8. You can layer the pictures long as you apply the Mod Podge under the image.  It will dry clear
  9. After getting all the images applied coat of Mod Podge  over the entire surface,  to see the frame.
  10. When you are done on any corners where the pictures wrap on the the edges you can use a light sand paper  to smooth out the edge and making a more finished look.

This is a great inexpensive craft for a American Girl Party Favor $2.70 per kid.  With the cost being under $27 for 10 frames  (that is the spray paint $4 Frames $10, brushes $6-7 bulk, and Mod Podge $8.00).

I also think this is fun craft with boys as well get the Lego catalog.

Check out my other post on easy sewing for American Girl Dolls Free patterns.

Also be sure to follow my American Girl Doll Ideas on Pinterest.

I am Linking the Post up to Barbs’ Fabulously Frugal Thursday 

St Patricks Day wreath from a Recycled Skirt

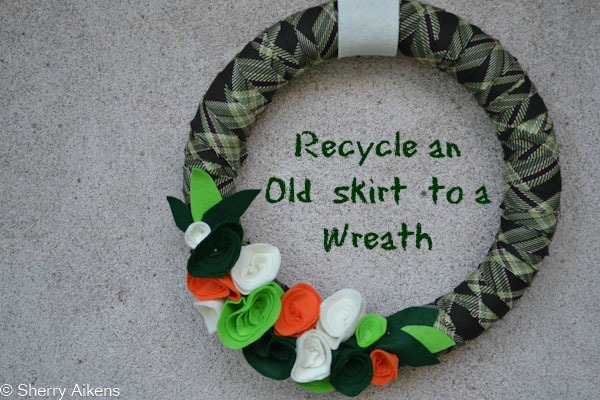
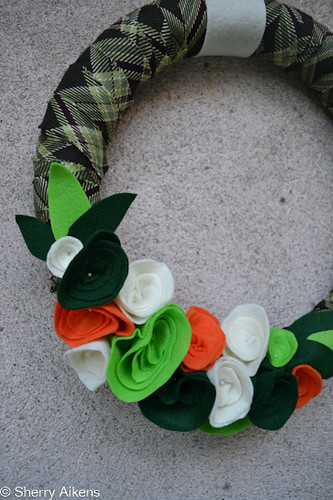
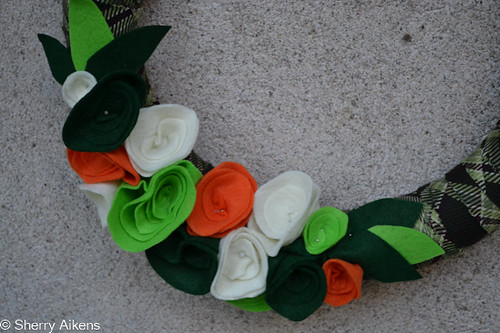
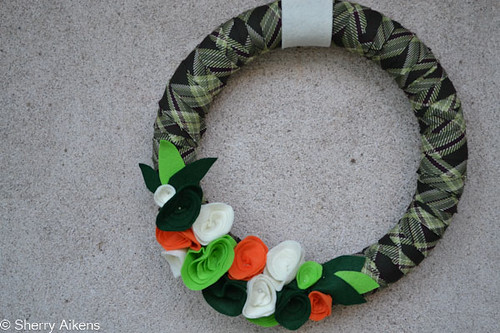
recycled wreathThis is my recycled St. Patrick’s Day wreath made from an old plaid skirt, foam wreath, straight pins and felt.  Super easy to , no sew, and makes a statement for the St. Patrick’s Day.  Show off your Irish:st_patricks_wreath-27-127

How to make a Recycled Wreath

Materials:

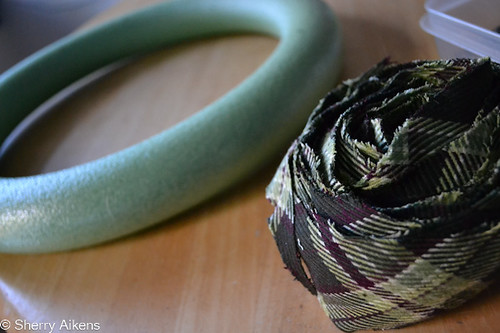
  • 1 plaid skirt-  I picked up this one at the thrift store for $1
  • Foam Ring: Ac more $7-8
  • Straight Pins
  • 1 safety pin
  • 1 of each color of  craft felt green, lime, orange,off white (9X12 sheets) $.59 each


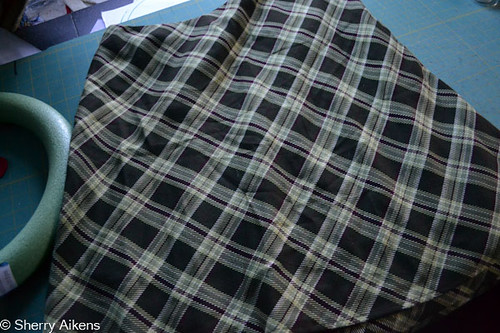
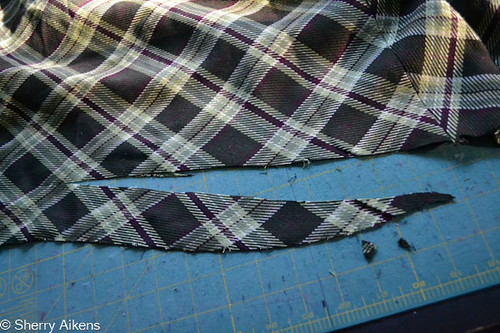
To Recycle the skirt: Place the skirt flat on a table cut diangle making a 1 1/2″ strip.  It does not have perfect.

st_patricks_wreath-1-101st_patricks_wreath-2-102

Continue around the skirt making one continuous piece of fabric strips

st_patricks_wreath-3-103

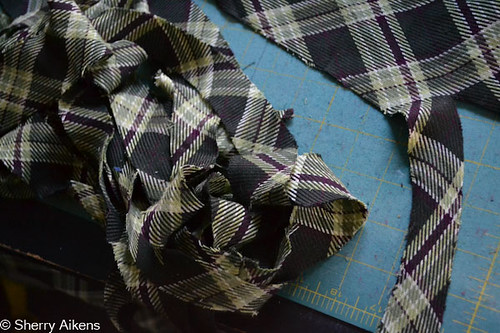
Roll continuous fabric strip in to a rolls so make easier to use, when wrapping wreath .. do not twist

st_patricks_wreath-4-104

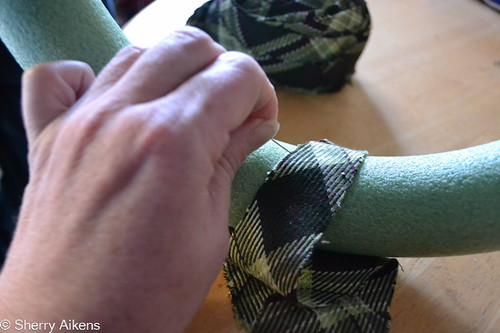
Attaching  with pins the end to foam wreath form start wrapping the fabric around the wreath (this is why you need the ball)

st_patricks_wreath-5-105

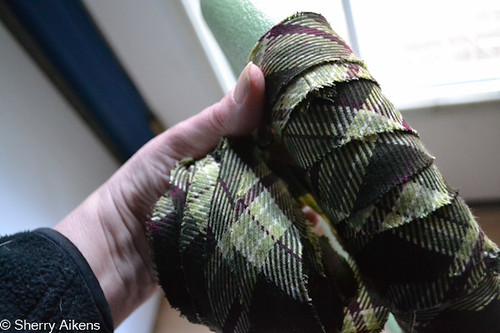
Over lapping  the wraps to hide the foam shape

st_patricks_wreath-6-106

Cut and Pin end when the entire wreath is covered.

To make felt  flowers:

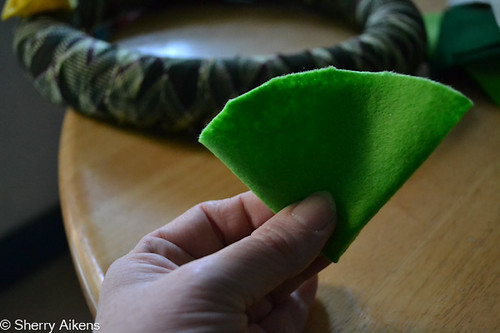
Take a piece of felt cut 4″4″  square, round off corners

st_patricks_wreath-9-109

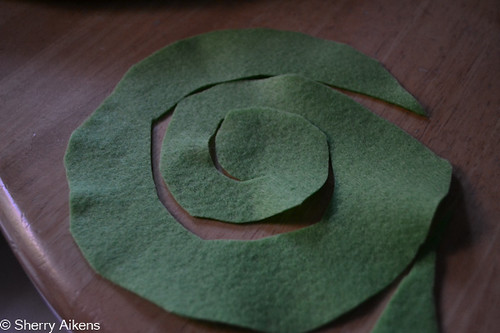
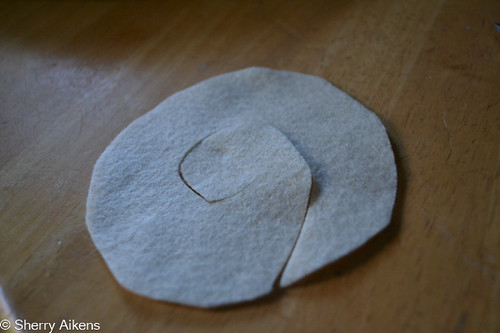
The cut a spiral from the other edge moving towards center

st_patricks_wreath-10-110st_patricks_wreath-12-112

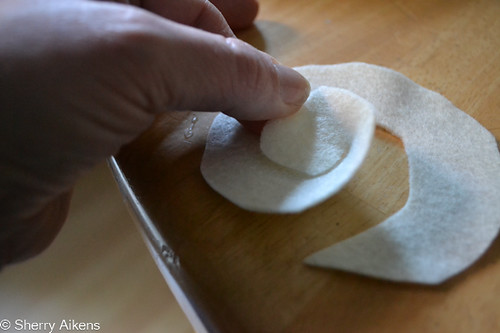
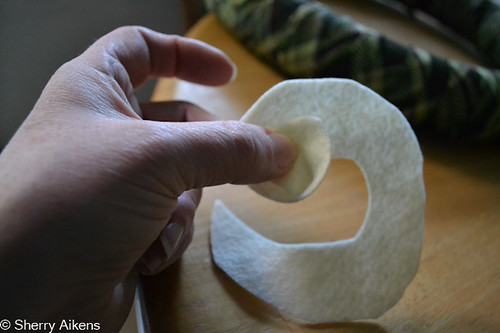
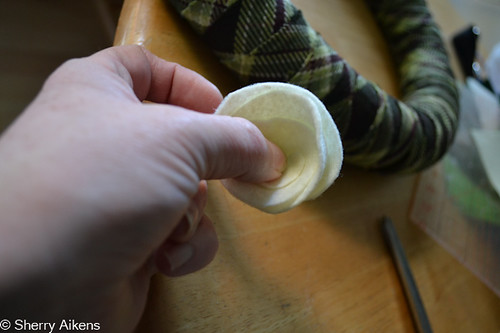
Then roll from the center the flower shape,  securing end ,  when pinning to wreath

st_patricks_wreath-13-113st_patricks_wreath-14-114st_patricks_wreath-15-115st_patricks_wreath-15-115

Add as many flowers as you like,  you can make smaller spirals or larger<st_patrick_decor_22013_1-2

Make hanger 2″ x 9″  from felt Strip with notches,  use a safety pin to hang on door.

st_patricks_wreath-25-125

st_patricks_wreath-20-120

Enjoy your Irish decor.  Have fun upcycling that old skirt.  You can make one in anay colors.

Do you decorate your door?

st patricks day wreath